



Knowing how to measure an external door correctly will help you order the right made-to-measure replacement with confidence.
Accurate measurements are essential. Even a small error can affect how securely the door fits, how smoothly it opens and whether it provides an effective weather seal.
In this guide, we explain:
- The tools you need
- How to measure the width and height
- How to apply the correct fitting tolerance
- How to measure doors with side panels or top lights
- How to identify the hinge side and opening direction
- What to check before placing your order
We have also included helpful diagrams and resources to guide you through the process.
What You’ll Need
Before you begin, gather the following equipment:
- A 3m+ steel tape measure. Fabric and cloth tapes can stretch or bend and may be less accurate.
- A notepad and pencil, or print our measuring sheet, to record each measurement as you go.
- A step ladder if required. Avoid stretching or estimating measurements.
- A helper where possible, particularly when measuring larger openings.
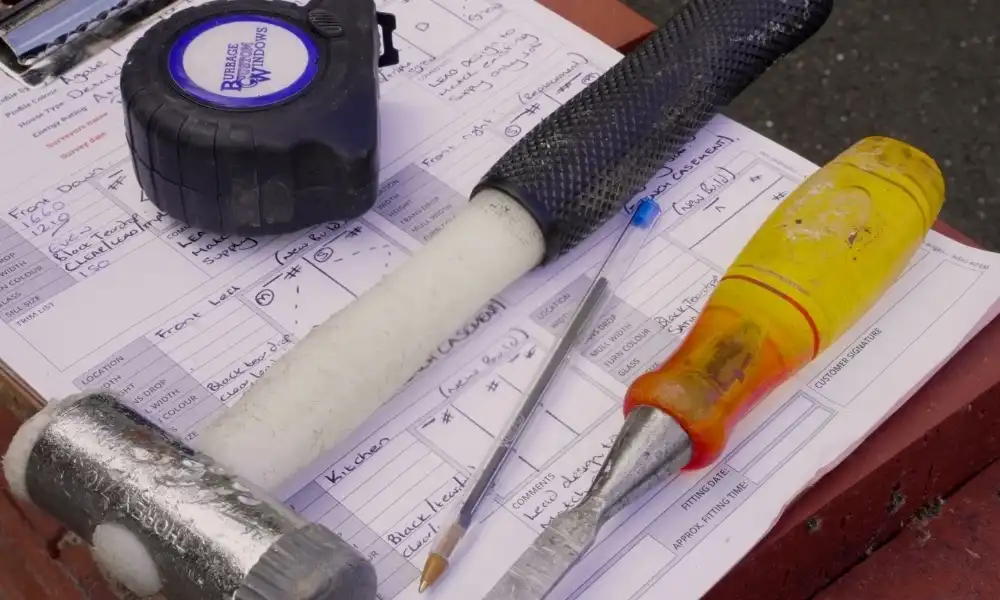
Avoid fabric or cloth tape measures, as they can stretch or bend and produce less accurate readings. Never stretch or estimate when measuring a difficult-to-reach area.
Before measuring, inspect the opening for crumbling mortar, damaged brickwork, bowed lintels or an uneven cill.
Where Should You Measure From?
We recommend taking your main opening measurements from outside the property where the brickwork opening can be clearly identified. Measuring from inside can sometimes result in flooring, plaster, tiles or other internal finishes being included in the measurement. The hinge side and position of any side panels should be described as viewed from outside. The opening direction should be confirmed separately as inward or outward opening.
Measure the opening brick to brick, using the inner faces of the brickwork rather than relying solely on the existing door frame.
The current frame may conceal part of the opening or may not have been installed square. Record all measurements in millimetres.
Can You Measure the Existing Frame Instead?
Where possible, we recommend measuring the brick-to-brick opening rather than relying on the existing frame.
If the brickwork is not accessible and you can only measure the existing frame, contact us before ordering. Parts of the frame may be concealed behind render, trims or other finishes, which can make frame measurements less reliable.
How To Measure the Door Width
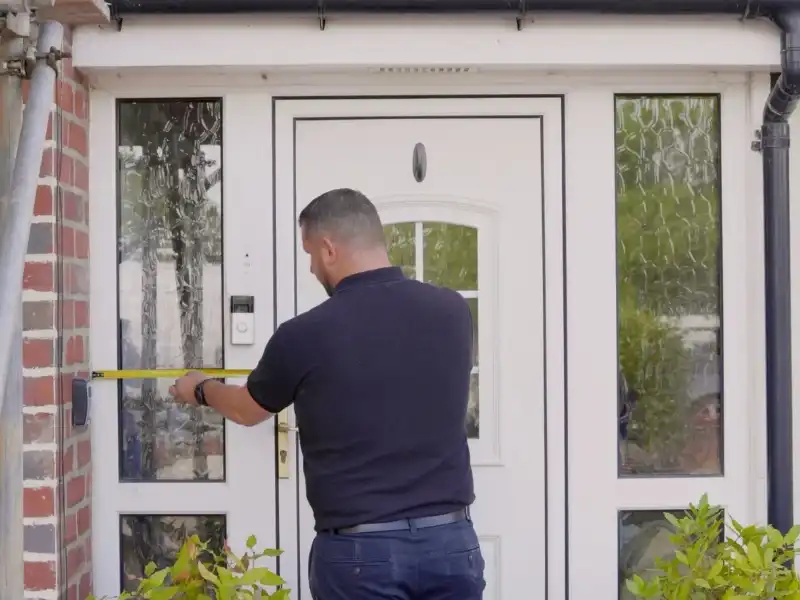
Measure the opening horizontally in three places:
- Across the top
- Across the centre
- Across the bottom
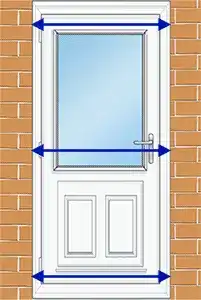
We recommend using the smallest measurement as the basis for your order size.
Then allow for the following fitting tolerance:
- 10mm for a white frame, providing approximately 5mm fitting tolerance on each side
- 15mm for a coloured or non-white frame, allowing additional space for seasonal expansion
Always follow any product-specific measuring instructions shown during the ordering process, as requirements can vary depending on the product and configuration.
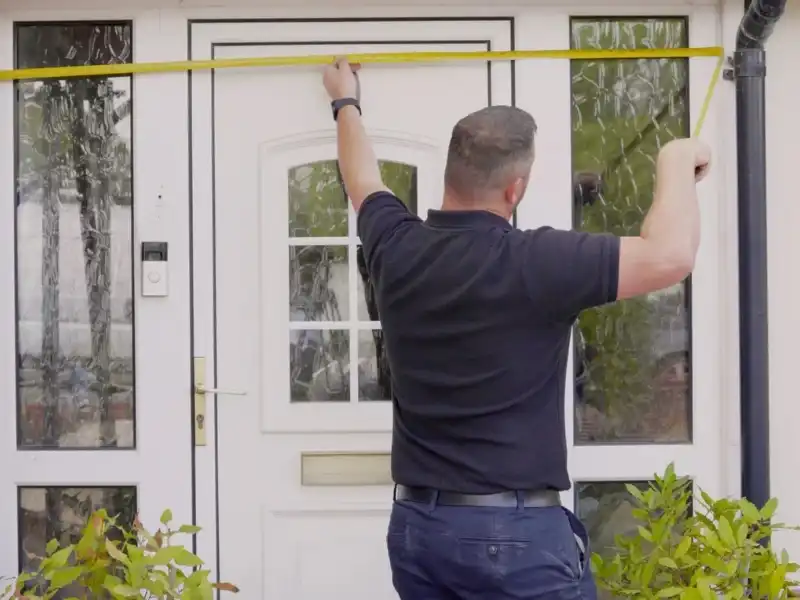
Example Width Calculation
If your measurements are:
- Top: 914mm
- Centre: 912mm
- Bottom: 916mm
The smallest measurement is 912mm.
- White frame: 912mm minus 10mm = 902mm order width
- Non-white frame: 912mm minus 15mm = 897mm order width
Small variations between measurements are normal. If you notice a significant difference between them, the opening may be uneven or out of square. If you're unsure, contact us or seek advice from a professional installer before ordering.
How To Measure the Door Height
Measure the opening vertically in three places:
- On the far left
- In the centre
- On the far right
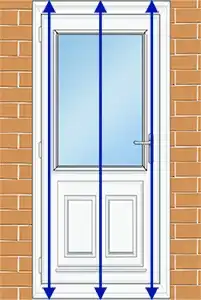
Measure from the underside of the lintel to the point where the new frame will sit, and record all three readings.
We recommend using the smallest measurement as the basis for your order size.
Then allow for the following fitting tolerance:
- 10mm for a white frame
- 15mm for a coloured or non-white frame
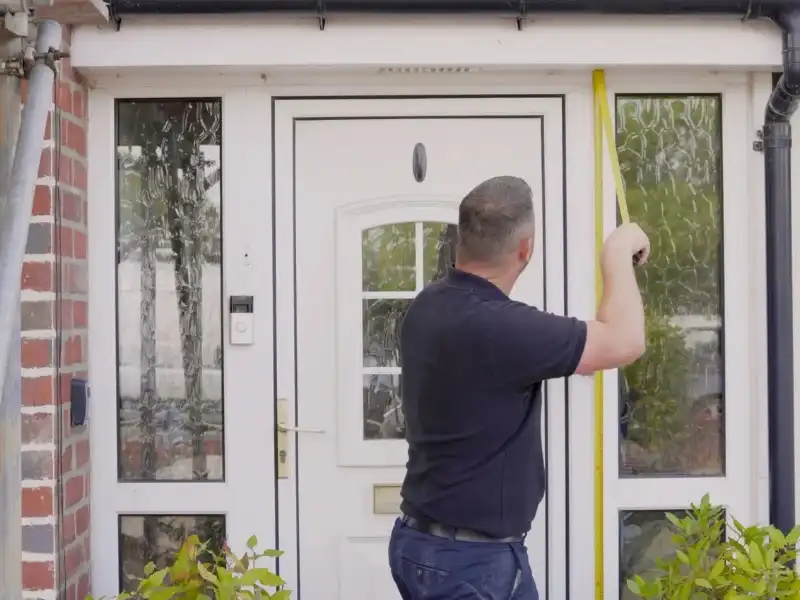
The lintel is the structural support above the opening. Avoid including metal trims, decorative coverings or loose finishes in your measurement. If a metal lintel extends below the brickwork or you are unsure where to measure from, contact us for guidance.
How To Measure Around the Cill
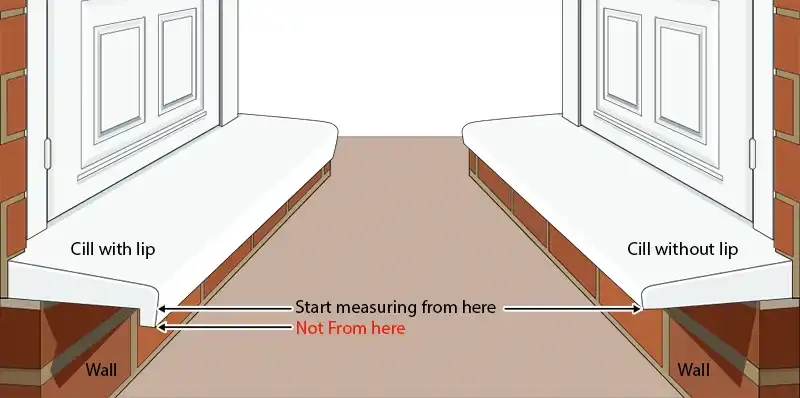
The correct measurement depends on whether the existing cill is being removed, retained or replaced.
If you are ordering a new cill:Measure from the underside of the lintel to the structural base beneath the existing removable cill. Your final frame height should include the new cill.
If you are keeping the existing cill:
Measure from the underside of the lintel to the top surface where the new frame will sit. Do not include the retained cill depth in the new frame height.
If you have a non-removable stone cill:
Measure to the surface where the new frame will sit. Do not include the stone cill depth in the manufacturing height.
If you have a lipped cill:
Measure to the correct structural point rather than the bottom of the projecting lip.
What Should the Final Order Size Include?
The dimensions entered when ordering should relate to the complete manufactured frame, not only the opening door panel.
Depending on your design, this may include:
- The outer frame
- The door panel
- A new cill
- Frame extenders
- Side panels and mullions
- A top light and transom bar
Enter the final manufacturing width and height after applying the appropriate fitting tolerance. Do not enter the original brick-to-brick dimensions unless the ordering instructions specifically request them.
How To Measure a Door With a Side Panel
For a door with one or more side panels, you will need to provide:
- The total frame order width and height
- The width of each side panel
- The side on which each panel is positioned
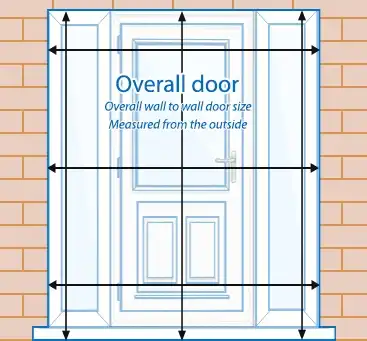
Measure the complete opening width brick to brick at the top, centre and bottom. Use the smallest measurement and deduct 10mm for a white frame or 15mm for a non-white frame.
This gives you the total order width for the complete assembly, including the door, mullion and side panel.
The mullion is the vertical divider between the door and the side panel.
To measure the side panel:
- Locate the mullion
- Mark the centre of the mullion
- Measure horizontally from the outer brickwork edge to the centre of the mullion
Provide this as the side panel width. Do not deduct another fitting tolerance, as this has already been applied to the total frame width.
The side panel height will normally match the total frame order height.
Always describe the panel position as viewed from outside:
- Left side panel
- Right side panel
- Side panels on both sides
For two side panels, measure from each outer brickwork edge to the centre of the relevant mullion and provide both panel widths separately.
How To Measure a Door With a Top Light
A top light is a glazed or panelled section above the main door, separated by a horizontal transom bar.
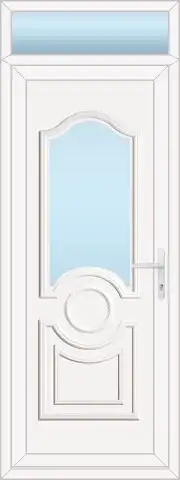
You will need to provide:
- The total frame order width and height
- The transom drop
Measure the complete opening height at the left, centre and right. Use the smallest measurement and deduct 10mm for a white frame or 15mm for a non-white frame.
This provides the total frame order height, including the door, top light and transom bar.
How Do You Measure the Transom Drop?
Locate the horizontal transom bar and mark its centre.
Measure vertically from the top of the complete frame to the centre of the transom bar. This is the transom drop and determines the position of the dividing bar.
A transom drop is commonly around 300mm to 400mm, although this can vary depending on the opening and your preferred design.
The transom drop is not the same as the visible top light height. The visible area will be slightly smaller because the outer frame and transom bar take up part of the space.
How To Measure a Door With Side Panels and a Top Light
Follow the same three-point method to measure the total opening width and height, using the smallest measurements and applying the appropriate fitting tolerance.
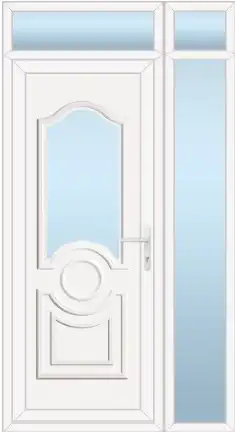
You will also need to provide:
- The width of each side panel
- The position of each side panel as viewed from outside
- The transom drop
- The hinge side
- The opening direction
Do not deduct separate fitting tolerances from the individual side panel widths or transom drop.
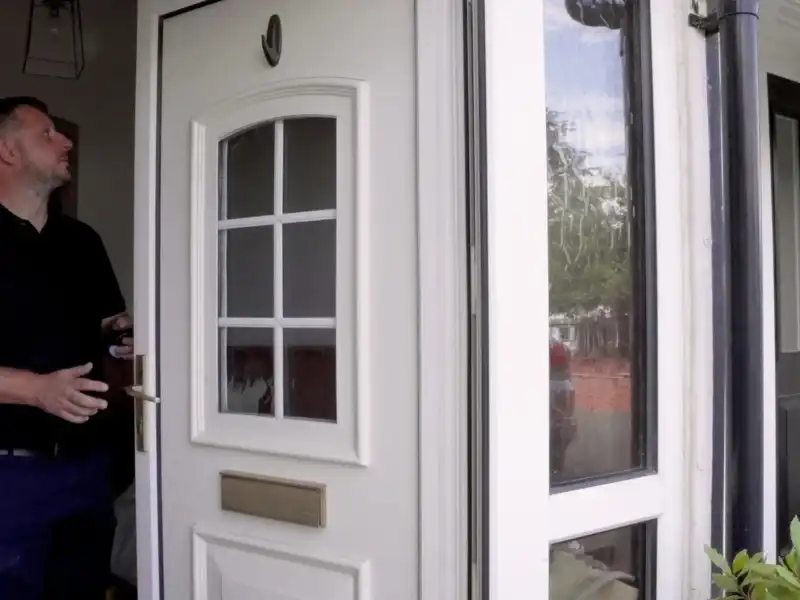
How To Identify the Hinge Side and Opening Direction
Stand outside the property and face the door.
- Hinges on the left mean the door is left-hand hung
- Hinges on the right mean the door is right-hand hung
Always describe the hinge side as viewed from outside.
To identify the opening direction, stand inside the property and open the door:
- If the door swings towards you, it is inward opening
- If the door swings away from you, it is outward opening
For inward-opening doors, a 25mm frame extender may be required on the hinge side so the door, hinges or handle do not catch against the internal wall.
When ordering, provide both the hinge side and opening direction, for example:
- Left-hand hung, inward opening
- Right-hand hung, inward opening
- Left-hand hung, outward opening
- Right-hand hung, outward opening
The hinge side and opening direction cannot usually be changed once the door has been manufactured, so check them carefully.
Final Door Measurement Checklist
Before placing your order, check that you have confirmed:
- The smallest of three width measurements
- The smallest of three height measurements
- The correct fitting tolerance
- Whether the frame is white or coloured
- Whether the existing cill is being removed, retained or replaced
- Whether frame extenders are required
- The width and position of any side panels
- The transom drop for any top light
- The hinge side as viewed from outside
- Whether the door opens inward or outward
- That all measurements are recorded in millimetres
Measure every dimension at least twice before submitting your order.
Need Help Measuring Your Door?
If you are worried about getting your measurements wrong, contact us. We will be happy to explain the process and offer guidance where possible.
We also provide survey and installation services across selected postcodes, so our team can visit your property and measure the opening for you.
However, if you are unsure about any measurements or aspects of the installation, you may wish to consult a professional builder or door fitter.
Important: We cannot accept responsibility for products manufactured to incorrectly supplied measurements, so please check all dimensions and specifications carefully before placing your order.
Measuring for new windows too? Read our complete guide to measuring a window.
Ready to Design Your New Door?
Modern UPVC Windows supplies made-to-measure UPVC, Composite, Patio, French and Bifold doors throughout the UK.
With more than 30 years of manufacturing experience, we make it easy to design and order a door that suits your property.
Use our online door designer to:
- Enter your required dimensions
- Select your door style and colour
- Add decorative glazing
- Choose your handles and hardware
- Confirm the hinge side and opening direction
- Receive an instant price
Our doors are made to order and available in a wide range of styles, configurations and finishes. They are also covered by a 10-year guarantee and our price-match promise.
Browse our range and design your made-to-measure external door today.





Over 12383 great independent reviews